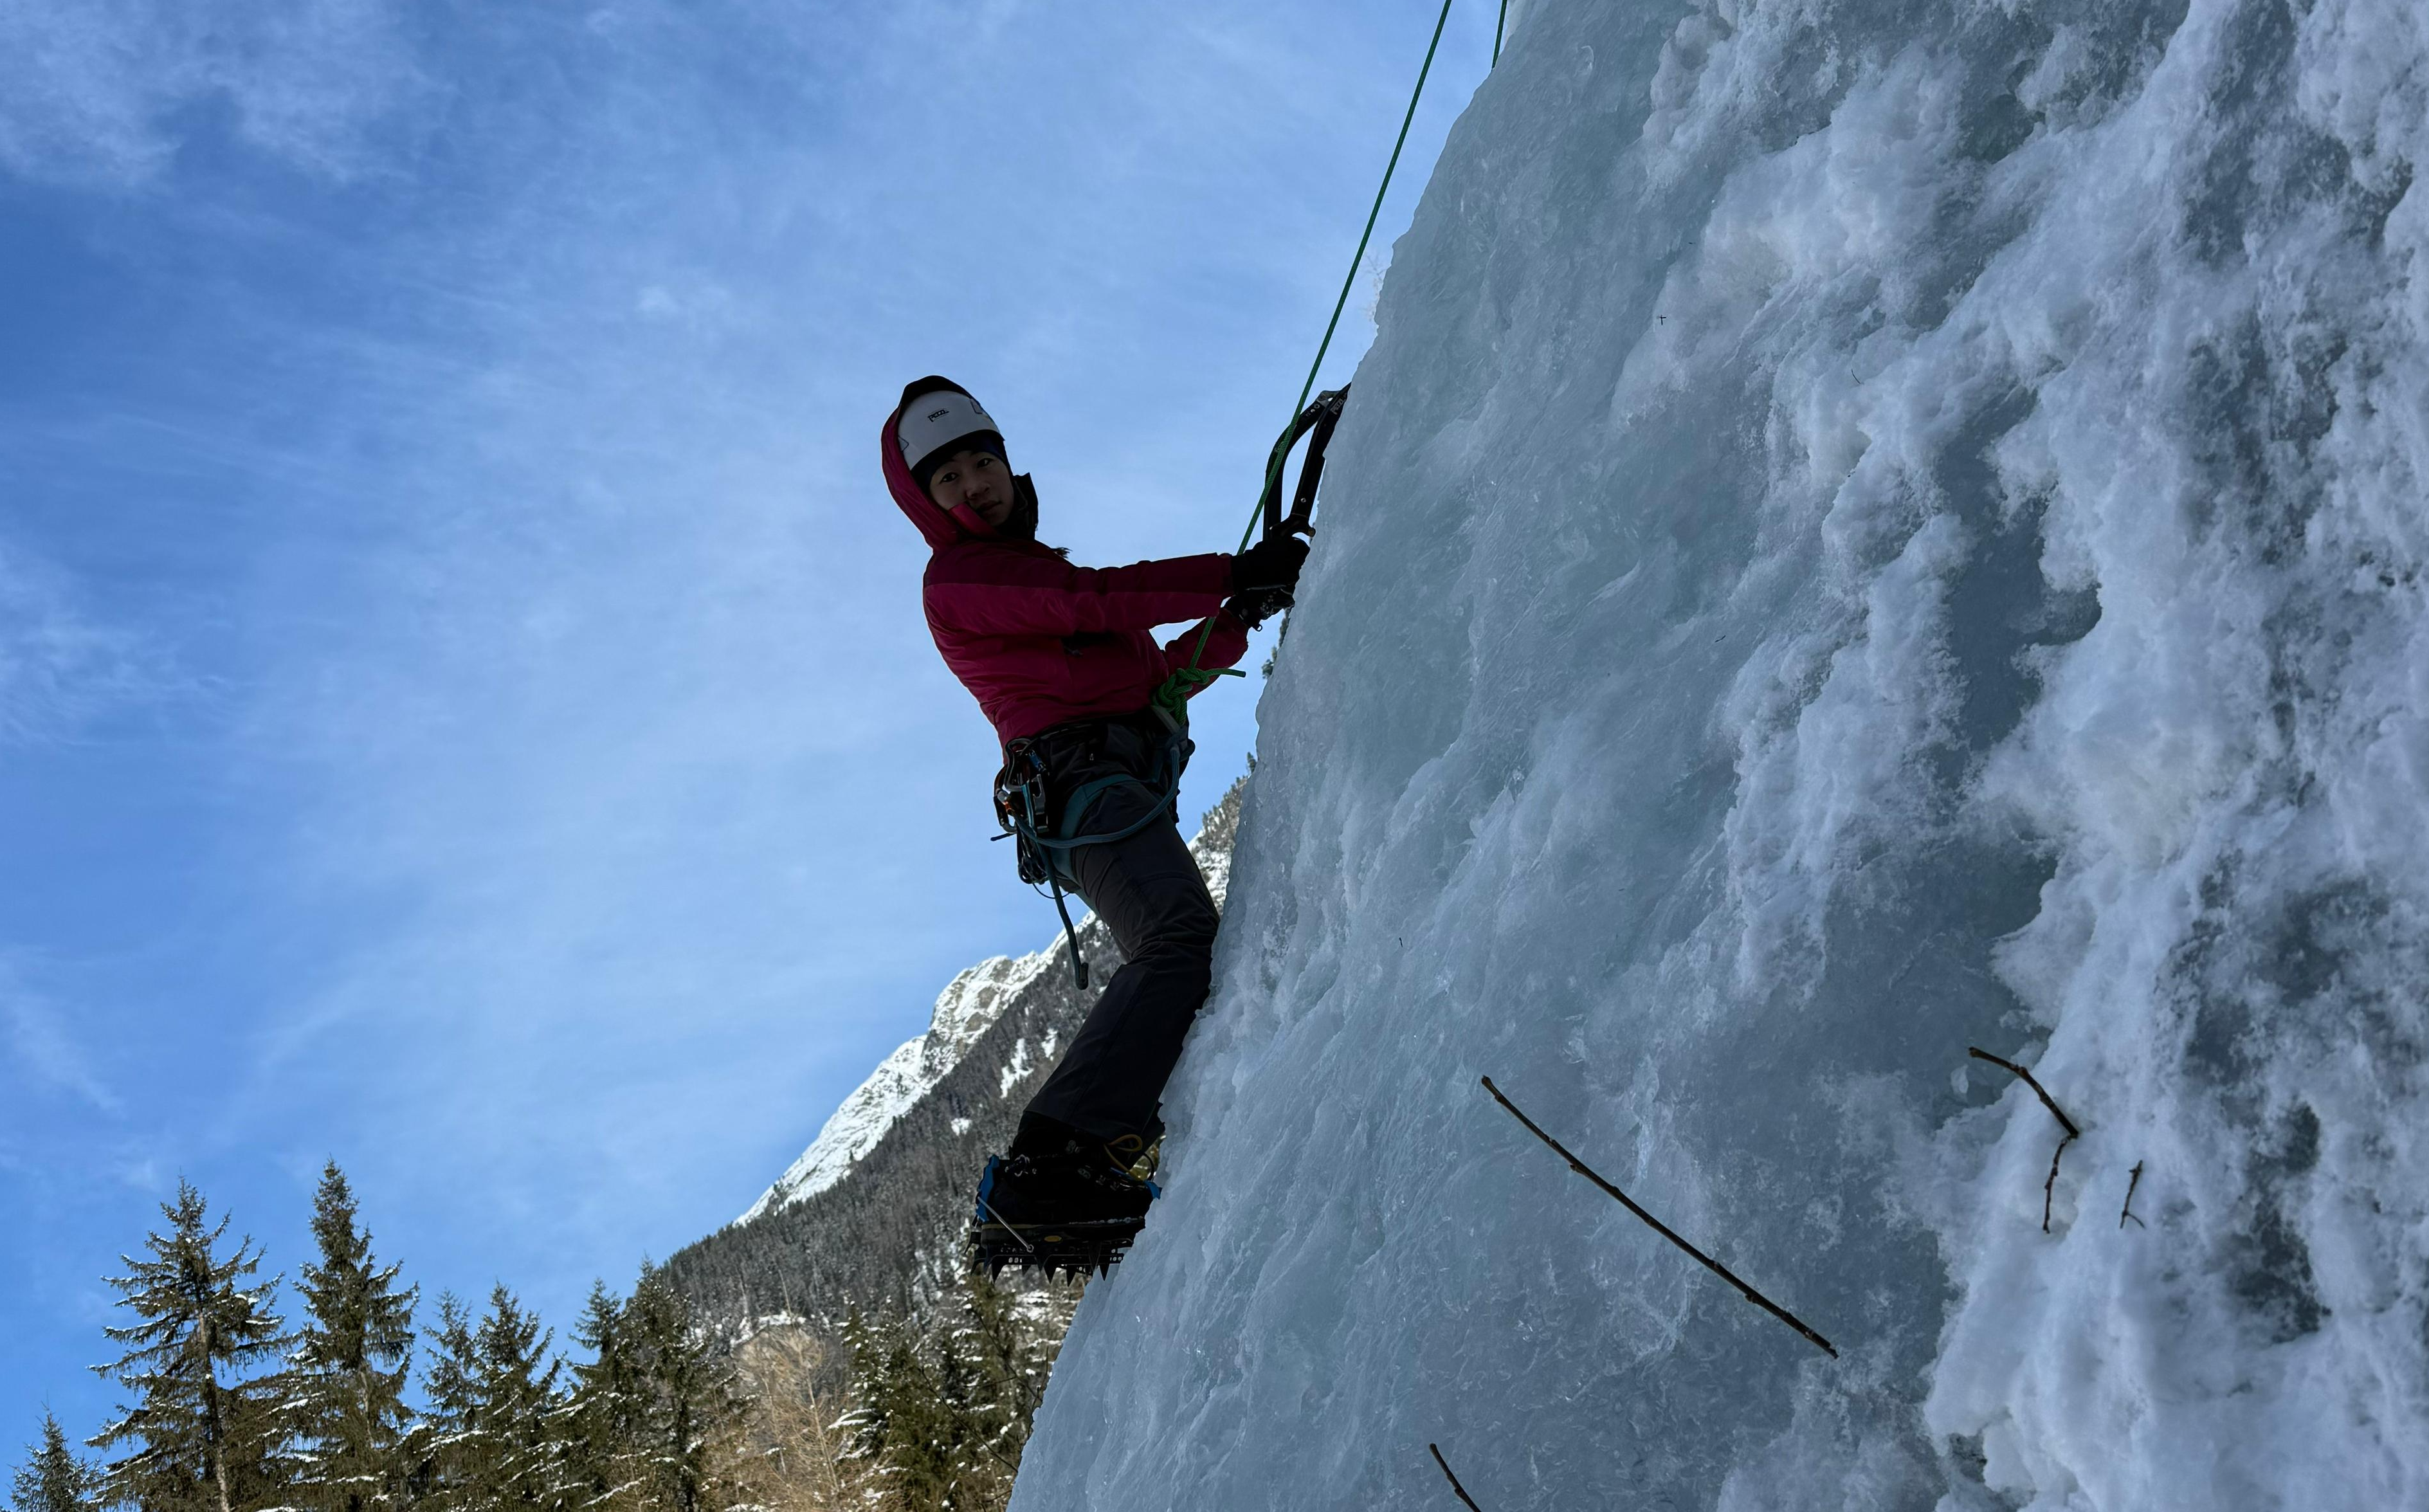
First time ice climbing
Date: Jan 31 2026
Location: Ice park near Innsbruck 47°01'53.4"N 10°44'50.1"E, Austria
J and I hired a private IFMGA-certified guide for about 5-6 hours.
The ice park is apparently open from December/January through early April. They even have lights so you can climb in the evenings during winter – pretty cool discovery.
Our guide grew up in this area. His two brothers and father are all IFMGA mountain guides too. It made me think about how different our childhoods were – him growing up surrounded by mountains, me in Tokyo’s concrete jungle.
Equipment basics #
Before we touched the ice, we went through all the gear. Super helpful because I had no idea about the details.
Boots & crampons: Learned about C-rated vs B3-rated boots. For technical ice climbing you need B3 boots – fully rigid mountaineering boots. They’re stiffer and work with technical crampons that have toe bail and heel clip systems (step-in crampons). Way more stable. For this course, I climbed in my 10yo hiking boots (C) and felt a bit more stiffness could’ve made things easier.
The guide also explained different crampon types – single-hook vs double-hook, how front point angles vary for waterfall ice vs dry tooling. For ice climbing: vertical or dual front points, steel not aluminum (they need to handle rock contact).
Ice tools: We tried different brands. Modern ice tools have curved shafts (not like traditional ice axes) which makes a huge difference on steep ice.
Found this website from INTERNATIONAL ALPINE GUIDES BLOG very useful to understand different types of crampons and ice axes. The most important thing though about equipment is that you understand your tools and how to use them well. It’s never about the equipment but the user.
Movement #
The movement felt completely different from rock climbing. Some of it would actually help my sport climbing though.
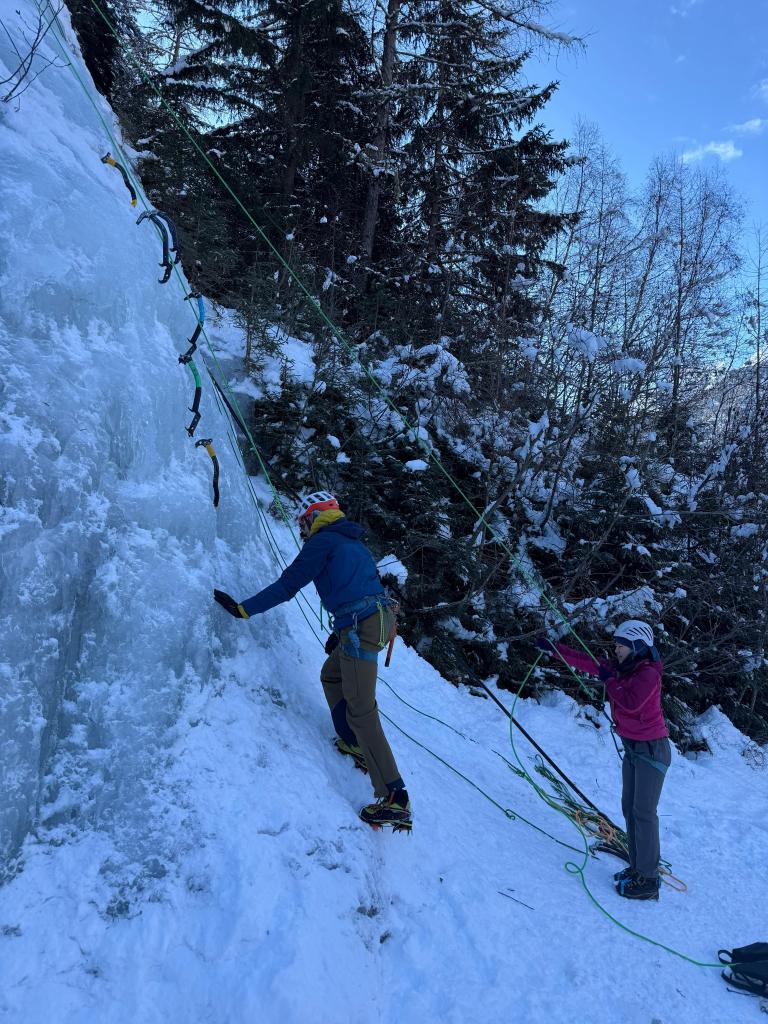
Started by just walking up the wall with crampons while the guide pre-placed tools for handholds. The pattern: stance about shoulder-width, thrust hips out, step up while kicking firmly into ice, bring hips back in.
Trust your feet: Biggest lesson. Unlike rock climbing where I hang on my arms too much, ice climbing is about keeping weight on your crampons. Keep heels down – if you point feet down or cock them sideways, crampon teeth won’t engage and you’ll slip.
Small steps: The guide kept emphasizing this. Small, deliberate steps instead of big reaches. I struggle with this in sport climbing (always making huge reaches because I’m short) so practicing it on ice felt like good cross-training.
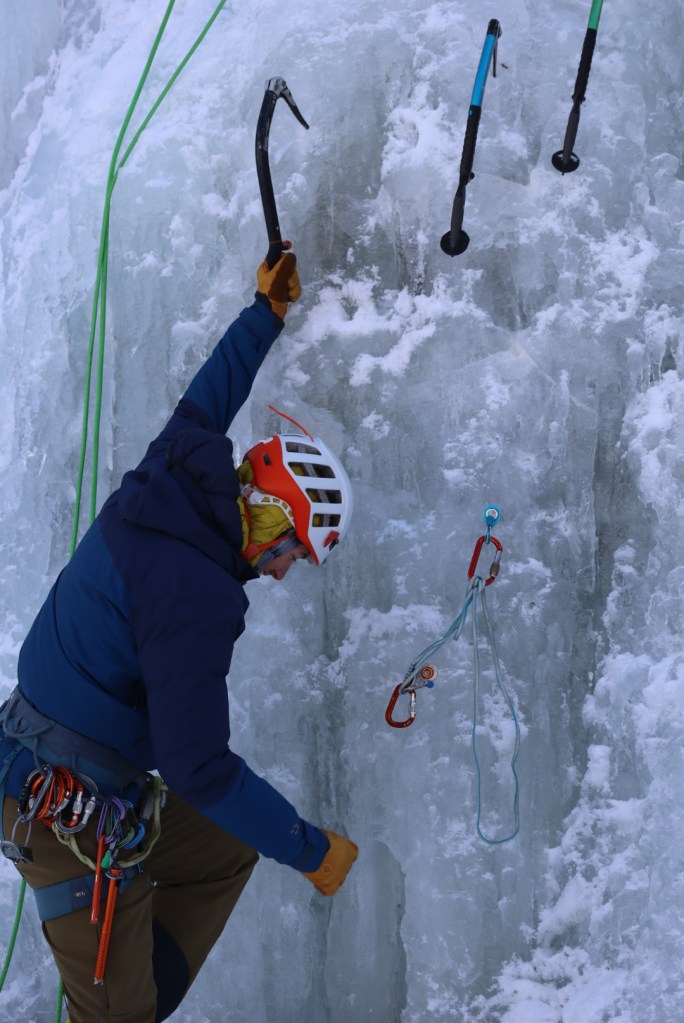
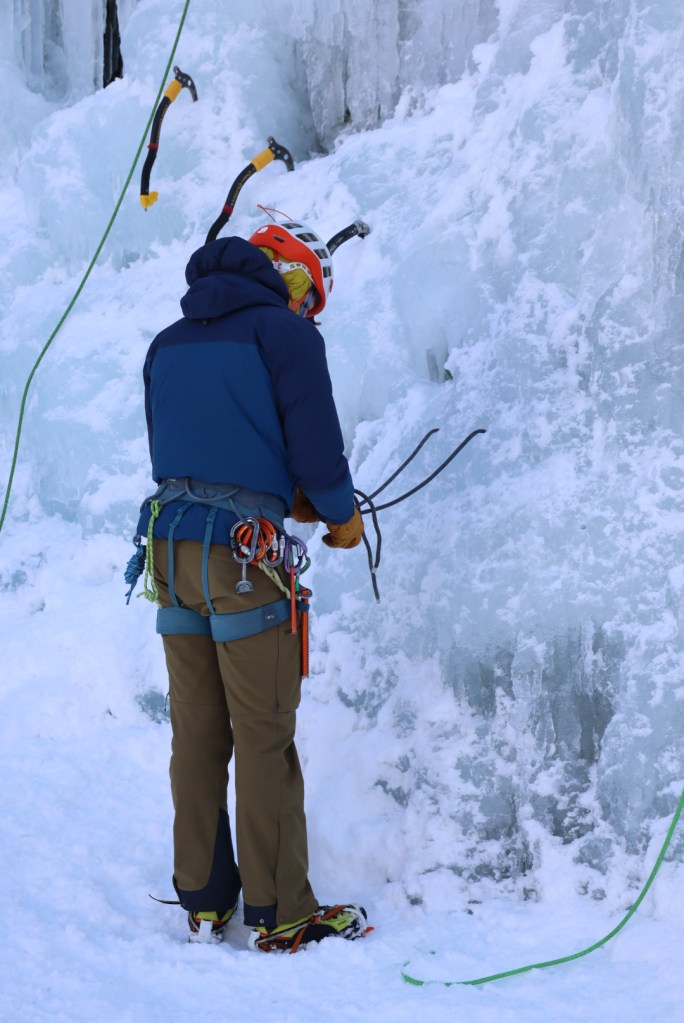
Ice tool technique #
Swing from the shoulder with loose grip, good wrist flick, let the tool strike cleanly. The downward pull is crucial so if you stand up too high above the ice axe, it won’t hold. This is something I had to remind myself constantly as I kept going higher above the holds (something I should do less in general even in sport climbing)
Placement matters too. On bulging surfaces you’ll break the ice. It’s crazy how easily ice can fracture if you’re not careful. I found it hard to aim precisely and get solid sticks in one swing (guide made it look effortless) but that’s practice.
Top-roping and my bad habits #
After practicing traverses on lower-angle terrain, we moved to top-rope on vertical sections. This is where all my gym climbing habits came out:
- Kept forgetting to keep heels down
- Tried moving both hands at once instead of three points of contact
- Took big steps like on plastic instead of small controlled movements
Guide was patient and corrected me in real-time. Made me aware of habits I never thought about.
Reading ice #
Interesting learning to assess ice quality:
- Blue ice = generally good, solid
- Water flowing underneath = not good (melting/unstable)
- Check for aerated ice, ash layers, air pockets, snow layers – all compromise strength
Ice screws and protection #
Ice screws are hollow tubular steel screws you twist into ice for protection when leading.
Placement: Around 90 degrees perpendicular to ice surface, or slight downward angle (10-15 degrees) in poor quality ice. Place them hip to chest height for best leverage. Place in depressions or good solid ice – never on bulges where fracture lines could reach the surface.
Sharp teeth bite into ice initially, then threads guide it in as you turn clockwise. When hanger hits the wall, back it out slightly so hanger points in expected direction of pull.
What surprised me: Tried yanking on ice that was only about 1 cm thick. Couldn’t break it off at all. Held my full body weight easily. This whole exercise made me feel way more secure about ice climbing than expected – maybe even more than trad climbing on rock.
V-thread anchors (Abalakov anchors): Guide showed us how to create these by drilling two ice screw holes that intersect at roughly 60 degrees, then threading old rope through for rappel anchors. You can descend without leaving expensive gear. He showed us how to check existing ones on popular routes (make sure they’re not frozen in place or damaged).
Afterthoughts #

Not being in a big group was absolutely worth it. Guide could climb beside me, watch my technique in real-time, correct me immediately. Instead of just telling me what to do, he’d ask questions: “Why are you placing the screw here? Is it secure? Can you check?”
Letting me figure things out with guidance rather than just giving answers made it stick better.
Way more enjoyable than I expected. Really rewarding day. Now I’m curious about dry tooling and mixed climbing. Already thinking about when I can do it again.
Links: